Drywall damage may begin as small cracks that spread over time, compromising the appearance and strength of your walls. Prompt drywall repair helps prevent further damage, and professionals restore a smooth, even, and durable surface. Problems that require repair range from holes caused by doorknob impacts to nail pops and water stains across the wall surface. Here are a few ways professionals address drywall issues in your home:
Assessing the Damage
Professionals check the condition of the drywall before making repairs; they may inspect the area for hidden plumbing, electrical wires, or structural cracks. This inspection helps determine the nature and extent of the damage. Some issues, such as dents or minor impacts, only affect the surface of the wall, while others extend into the framing behind it. An inspection may reveal:
- Hairline cracks along settlement seams
- Dents or holes in the wall
- Multiple nail pops across the same wall surface
- Water or moisture damage
Leaks, moisture, settling, and impact damage often require prompt drywall repair to help prevent further deterioration. Contractors identify the underlying cause of the problem to address the source, and they make recommendations to reduce the risk of recurring issues. If the damaged section is extensive, the contractor may recommend replacing it instead of patching it.
Patching Surface Holes
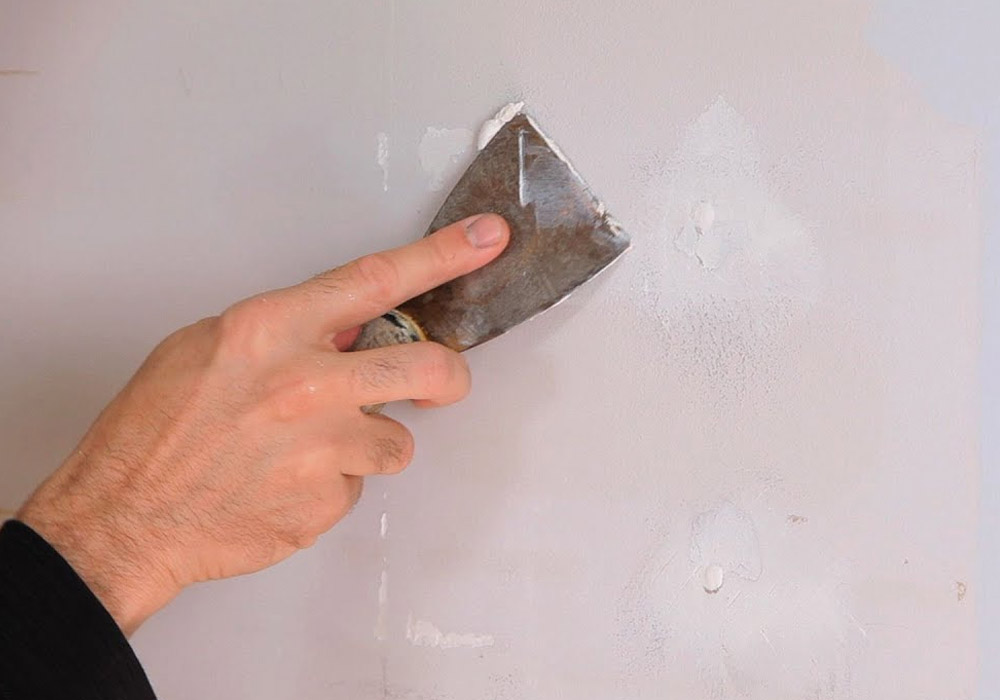
Holes in drywall are usually patched, while small dents and nail pops may be filled with fast-drying spackle and sanded flush after drying. For medium to large holes, contractors cut a clean opening, install wood backing, and secure a custom drywall patch in place. Larger openings may require removing damaged sections and installing new drywall panels to restore the wall surface.
Taping and Mudding
After installing the drywall patch, contractors reinforce seams and edges with an adhesive mesh tape to help reduce future cracking. The next step is feathering the edges; this involves a joint compound called mud, which is spread over the tape using wide drywall knives. Professionals angle the blades to gradually thin the outer edges of the compound, creating a smooth transition between the repair and the surrounding wall.
Mudding is completed in thin layers to allow faster drying and create stronger bonds; each layer should dry before the next coat is applied. Layers are also sanded between coats to create a smooth surface before additional, thinner applications. The final coat should conceal the repair and blend it seamlessly with the rest of the wall.
Matching Wall Texture
Professionals aim to recreate the existing wall texture and make the repair difficult to notice. To achieve this result, contractors may use spray equipment, texture brushes, rollers, or hand-applied techniques that match the surrounding finish. The final steps typically include:
- Matching the wall texture: Contractors replicate the surrounding texture to help the repair blend with the rest of the wall.
- Preparing the repaired area: Once the texture dries, the surface is cleaned of dust and debris before primer is applied.
- Priming the repair: Primer seals the porous joint compound and helps promote even paint absorption.
- Blending the paint finish: The repaired area is painted to match the existing wall color, creating a consistent appearance.
- Completing a final inspection: Professionals review the finished repair, check for imperfections, and make any necessary touch-ups or corrections.
Schedule Drywall Repair Today
Professional repairs help restore your wall’s function and appearance. The type and extent of damage determine how contractors approach repairs; some situations may require replacing an entire section of the wall. Experienced teams complete both repairs and new installations, including final painting and finishing. Contact a handyman today to schedule professional drywall repair.